Showing posts with label houses. Show all posts

Monday, May 9, 2016

Basic composting toilets; Part 2-Composting media


In part one of this series (link) we covered the basic composting toilet container. This article will cover the various types of composting media.

It is possible to do combined urine and poo but most choose to separate the two. If you do combined, it will need more covering material and more frequent emptying of the bucket. Most also report that combined waste smells. I will cover various ways for a diverter in the next article.

Covering your "business" will aid in the composting process and also eliminate offending smells. There are three common types of composting media; sawdust or wood shavings, peat moss and coconut coir. Sawdust is the cheapest alternative and works very well. If you have a sawmill or woodshop nearby, you can typically get the material free by the truckload.


Peat moss is available at the garden store in various size bags. Price is usually depended on the size bag you purchase however the cost per cubic foot decreases quickly with larger bags. I have used peat moss for the past six months. It is simple, convenient and inexpensive. However, the harvesting of peat moss is detrimental to the environment. Thea Tapson will do a guest blog about the environmental impact of this composting media.

I have discontinue using peat moss because of the environmental problems. I now use coconut coir. Coir is the outer portion of coconut husks that is ground and compressed into a brick. The bricks are reconstituted by adding water.


The typical 10 pound coconut coir brick will make approximately three-five gallon buckets of material. For this reason, it is best to cut the brick and put a portion in a bucket before adding the water. If you try to add the entire brick to a 5 gallon bucket with water, the swelling of the coir will wedge into the bucket making it difficult to remove. Add water sparingly to the brick; for half a brick (about 5 pounds), I start with 2 gallons of water. Once the water is absorbed, I break up the pieces by hand and add more water, as needed. I typically make one five gallon container of coir and store the rest of the brick un-hydrated.

Procedure: Using composting media in a bucket toilet is relatively easy; granted not as easy as flushing a conventional toilet. When you complete your "job", scoop a couple cups of media over the "deposit. You only need to cover the material with about 1/4 to 1/2" of composting media. In a commercial composting toilet. the composting media will be contained within a vessel and a mixing rod will mix the media. This is a bit nicer because you do not need to scoop each time you do your "duty". Most of the commercial toilets also have a movable door that covers the media between potty breaks; this means you do not see into the composting vessel when you open the toilet. The trap door moves out of the way once you descend on the seat.

Bucket toilets will need to be dumped more frequently than commercial toilets. I typically dump my bucket toilet once a week. I have read that the commercial toilets can go a  month or longer between dumping.

The most frequent question about composting toilets is: Does it stink? No, once your business is covered, the composting toilet does not smell. The only smell you might sense is a slight earthy smell of the sawdust, peat moss or coconut coir.

Part three of this series will cover urine diverters. Stay tuned for more composting toilet excitement.


Thursday, May 5, 2016

Solar Power: Part 7-Panels

Image from amazon.com website

Solar panels make up the backbone of the solar charging system; they provide the energy that is delivered through the solar controller into the batteries. Solar technology is changing quickly. At the current time, there are three types of solar panels that fit the basic system ($3500-5000) we discussed in the first article of this series. The three types are monocrystalline, polycrystalline, and thin-film. Each as advantages and disadvantages.

Monocrystalline panels are made from crystals of silicon and have a characteristic uniform color. The individual cells are not square because of the growth form of the crystals; the cutting process of the crystal produces angled or rounded edges. Because the silicon is grown as a crystal, the efficiency is higher; however so is the cost. They are also the most space efficient and have the longest life. Monocystalline panels suffer more when partially shaded. However, new technology has partially solved this problem with the addition of diodes that allow the un-shaded portion of the panel to continue to produce energy.

Image from amazon.com website
Monocrystalline panels will be more expensive than polycrystalline. Polycrystalline panels have uneven coloring and square cells because of the manufacturing process which consist of poured silicon, not crystals. They will be less expensive than the monocrystalline panels but also slightly less efficient. Because of this loss in efficient, polycrystalline panels of similar wattage will be larger than monocrystalline panels. Polycrystalline also have slightly lower heat tolerance but this is typically not a problem for most tiny home homeowners. If mounted on a black roof, the panels would suffer because of the increased heat.

Image from amazon.com
The third type is thin-film panels. These are the flexible panels. The manufacturing process consist of depositing multiple thin layers of photovoltaic material. There are multiple types of photovoltaic material but I will not detail these types. The reader is encouraged to research the different types if they desire this detailed knowledge. The primary advantage of thin-film panels is flexibility. If you have a bus tiny house and you want to contour the panels to the bus roof, thin-film would fit this application. However, thin-film have the lowest efficiency of the three types; panels of similar wattage to mono or polycrystalline will be larger. However, they are cheaper to manufacture and many times cheaper to purchase. They are also less sensitive to shading than mono or polycrystalline panels.

Solar panels are rated in watts. Panels with higher wattage will be larger. When choosing the panels, it is important to choose panels that will fit the space available. If you will be mounting the panels on an independent frame, then size will be less of an issue. Typically, higher wattage panels have a lower cost per watt than lower wattage panels.

Multiple panels can be combined in series to increase the wattage. For example, four 12V-100 watt panels combined in series will provide 400 watts of power at 12V. Remember to not exceed the capacity of your solar controller. A set of panels of 400 watts is feeding at least 33 amps of energy to the controller when in full sun (400 watts/12V=33.33 amps). However, panels will typically generate greater than their stamped efficiency in full sun so it is important to not overpower your controller. Controllers were discussed in part 6 of this series. A 40 amp controller will accept 40 amps (480 watts at 12V); 40 amps of solar panels could generate much more than 40 amps on a bright sunshiny day. This is the reason I am only using four 100 watt panels rated at 33.33 amps.

The next installment of this series will cover wiring. Wiring connects the batteries together; connects the inverter to the batteries, connects the panels to the solar controller and connects the solar controller to the batteries.

Wednesday, May 4, 2016

Friends that share my direction

 One of my closest Tiny House friends is Ariel of Fy Nyth. She and her tiny house are in the mountains of NW Wyoming; a place I think of as paradise. This is an area with abundant animals, not so many people, lots of outdoor activities and beautiful mountains. A couple years ago, Ariel purchased a new Tumbleweed Tiny House, 24 ft in length and lives alone except for a few outdoor cats and friends that come to visit.

There is seldom a day that we do not exchange messages. However, we have never met (as of early May 2016). We do plan to meet soon and we will be presenting a joint presentation at the 2016 Tiny House Jamboree on Off-grid Living and Homesteading.  The following picture is from her blog with tons of informative posts, many pictures of animals and also interesting info on her life. Ariel is like a daughter to me, she is such a sweetheart. Her blog is located at this link: Fy Nyth
Fy Nyth in the mountains of northwest Wyoming.
 In addition to being located in paradise, Ariel also has a large garden. She grows much of her own food and cans it in her tiny house. She also does laundry at her tiny house and she is an avid photographer. In her area, they get approximately 400 inches of snow annually (honestly, that is not a misprint, 400 inches). She has both a propane furnace and a new Grey Stove (wood stove). I am proud to call her my friend. I encourage you to visit her site and learn from her extensive experience.


Next, is Nick and Ester Emery of Fouch-o-matic off-grid. Their site is named after Nick's ability to make a functioning item from spare parts. They do not live in a tiny house; well actually they do. They are living in a yurt on their property during the construction of their "post and beam" house. Ester is the daughter of Carla Emery who wrote the classic self-sufficiency book "The Encyclopedia of Country Living". Nick and Ester have three children; one boy and two girls. We have never met, in fact, we have never exchanged letters, messages or any other form of communication. Nevertheless, I am a big fan of their youtube videos about off-grid living and homesteading. I hope you will give their site a look and I hope you enjoy it as much as I. The link to their youtube videos is: Fouch-o-matic

I have the aforementioned encyclopedia of country living and it is essential to homesteading living. I purchased the kindle edition as I do not have room on my bookshelf for a book of 900 plus pages. Below is an affiliate link to the book.

Kindle Edition

Print Edition


Monday, May 2, 2016

TV, movies and free shipping


We all need a bit of rest from the pressures of everyday life. TV and movies provide entertainment and relief. Many of us that live off-grid also live away from intown conveniences; such as big box hardware stores, specialty stores such as cooking supplies, or even common stores. Most of us are close enough to civilization to have internet (DSL, cable or satellite) and package delivery.

For the past seven years, I have not had cable television and have not been a subscriber of any of the paid services, such as Hulu, Netflix, etc. However, I have been an Amazon Prime member. This membership provides me free "two-day" shipping on all items directly sold by Amazon. This is an large savings because of the volume of packages I order each year.

Try Amazon Prime 30-Day Free Trial

Amazon Prime membership also provides all my TV and movie entertainment. Granted, new releases or current shows are not part of the membership package but many of the shows I love are part of this membership. 

They also have a discounted membership for students. As a graduate student, I have qualified for this discount; they have put no restrictions on my account because of this discount. If you have not given Amazon Prime a try, it might be worth the effort to do a free trial membership.

Order a couple items during the trial to see how you like getting free two-day shipping; watch a few movies and maybe a couple TV shows. I am a fan of the TV series Justified, NYPD Blue and Sopranos; all are available for my enjoyment with no additional fees.  I believe they also have a music service but I have not tried it. 

Some shows are only available on a pay-per-watch basis. I have never watched any of these shows. Living on a tight budget, I enjoy my Prime membership but do not take part in the other non-prime aspects. All are welcome to ask questions about my experiences. Thanks, I hope this has been helpful for those that wish to give Amazon Prime a try.


Temporary Indoor Shower


I built my tiny home paycheck to paycheck. In order to effectively use every dime, I moved into my tiny home long before it was complete. However, because I worked on the build each day after my regular work day, I wanted a way to get clean without running to some bathing facility away from my build site.

Therefore, one of the first items I installed was my bathtub and plumbing for the bathtub drain. I did not install the tub walls till much later. In order to protect the existing walls, I obtained vinyl shower curtains and tacked them to the walls. I also have a front curtain to keep the water in the tub.

I had not installed my water plumbing or my hot water tank. I live off-grid and planned an internal tank, see this article.  Before installing my internal tank, I used water totes to hold water. I used a garden sprayer to hold two gallons of water for my shower. The wand and nozzle was removable and made it much easier to use for my shower.


I would fill the sprayer tank with 3/4 of a gallon boiling water and 1 gallon of cold water. I used an electric water pot for heating the water. Because I was building my home, I was frequently using the generator so I had plenty of energy to run the water pot. Water could also be heated in a tea pot over a camp propane stove.

The same garden sprayer can be painted black and placed outside in the sunshine. The sun will heat the bottle so you have hot shower water. However, I live in an extremely cold region and I was building during the winter.

I used this system to take showers for six months. Even after I completed the basic plumbing of my home, I needed to use this system because I had not installed a water heater. I now have a shower head with an on/off switch and it is a water saving head, however it still uses more water than my former garden sprayer. I find I miss my sprayer. It was so easy to conserve water because the sprayer output was not excessive.

Maybe I will bring the sprayer back and use it. Life is good off-grid and it feels good to conserve water. 


Friday, April 29, 2016

Tiny House Interior Storage


Tiny houses are, uh-what is the word I am looking for-TINY. However the same storage techniques that are used in other small living spaces can be used for your tiny house. I lived aboard a cruising sailboat for 11 years; finding storage for everything aboard a boat is a common problem and these items need to be secure, out-of-the-way and convenient for use.

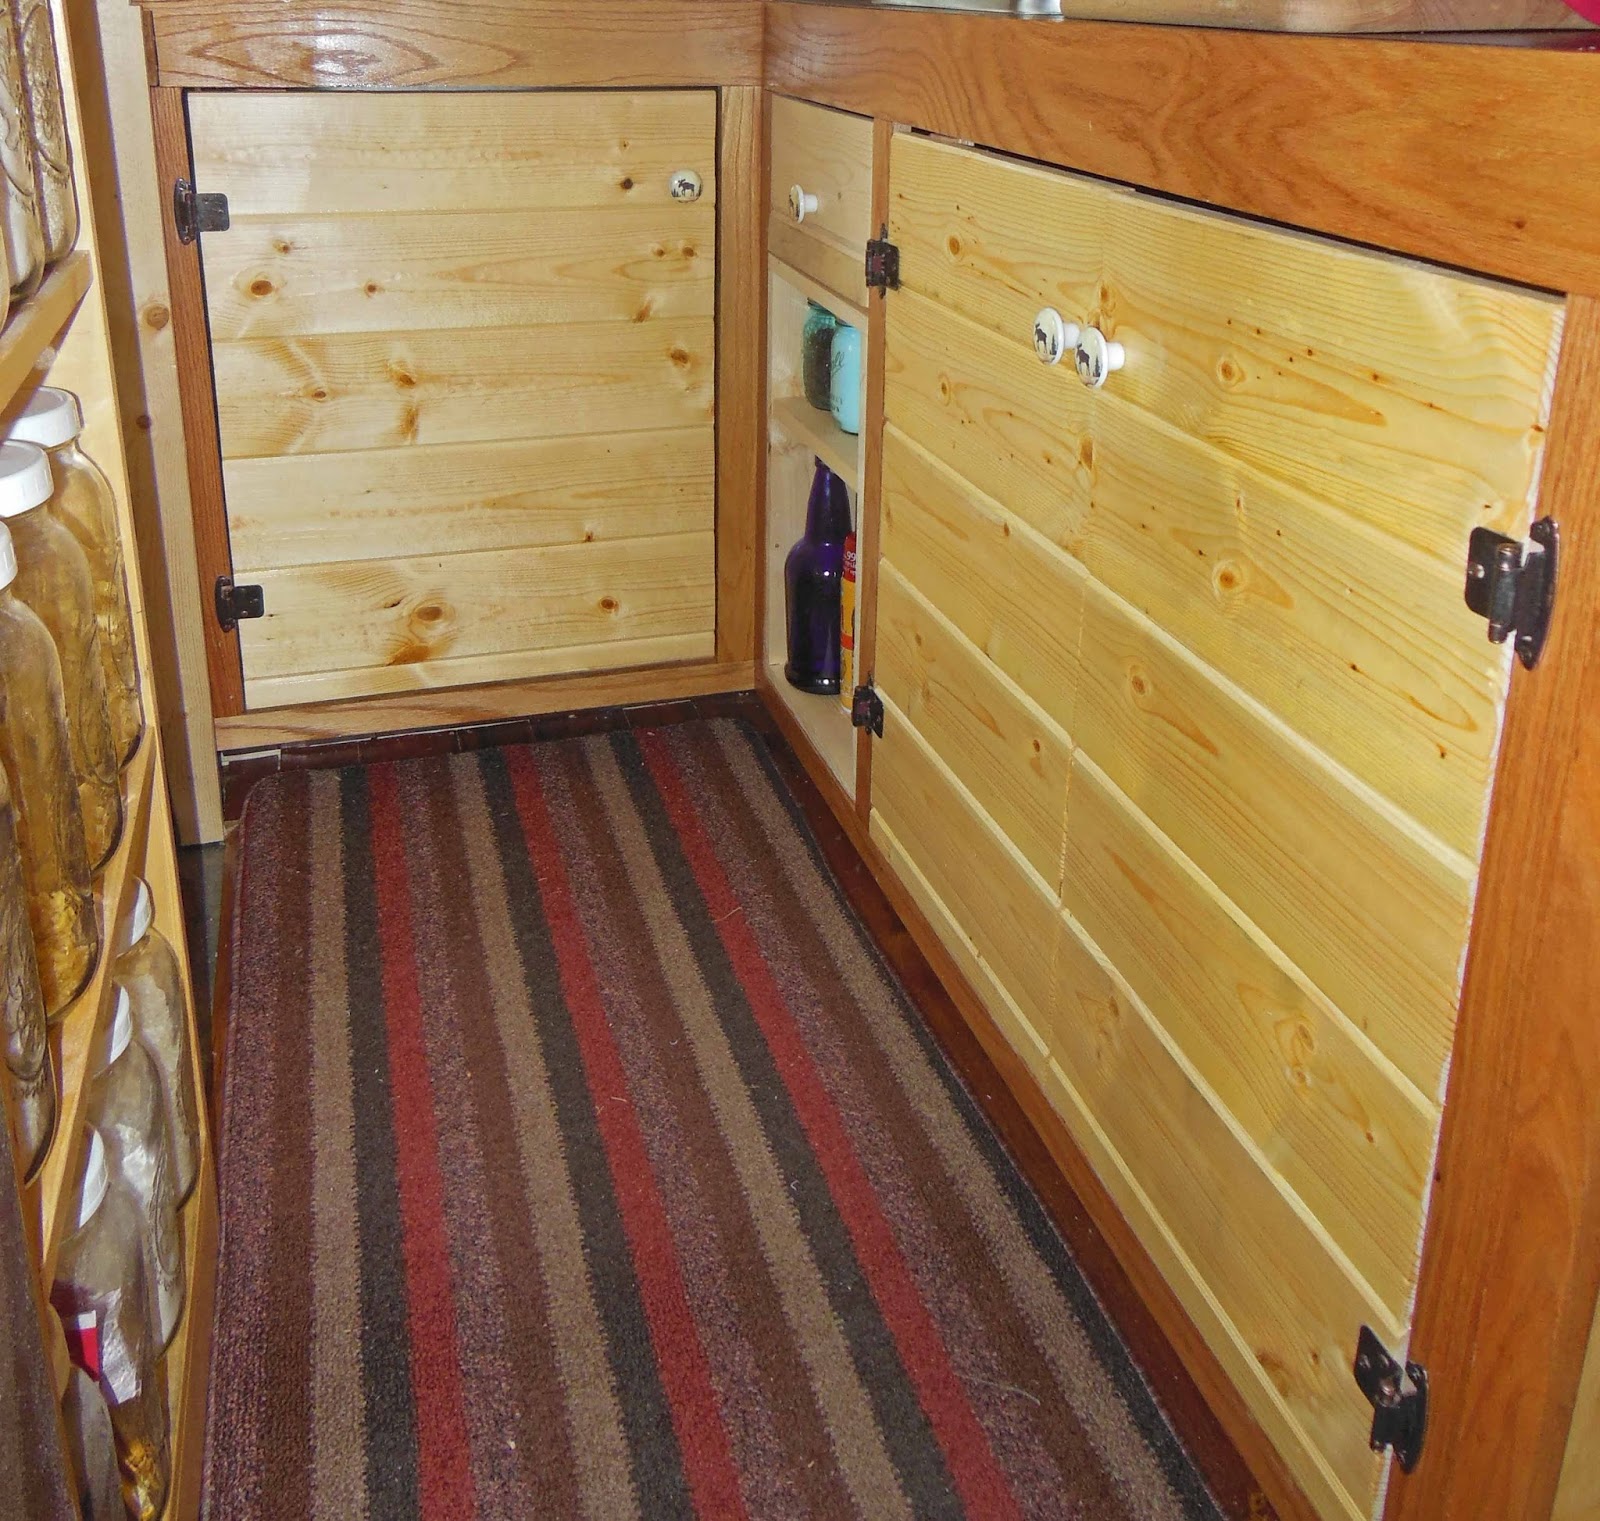
If you build you own tiny house, plan for storage. The wall that separates my kitchen from my bathroom is actually a storage cabinet. I have a section for liquor bottles in the top (I do not drink much but like having it available for visitors) and room for canning jars in the lower portion. 

I store all types of food items in my canning jars. Oatmeal, salt, sugar, hot chocolate, pasta, etc; this keeps food fresh and also protects it from bugs. It is also very convenient because when I am cooking, I just turn around, grab the jar, add the items to my recipe, then return the jar to the shelf. In a tiny house, we do not have large open counter spaces so the ability to return items to the shelf helps keep the counters open.

I use a variety of canning jars from the pint size for smaller items (pepper, brown sugar, salt, baking soda and powder, etc. I use the half-gallon size for oatmeal, pasta, sugar, hot chocolate, rice, and many other staples. This keeps it fresh and also protects it from bugs.

I have an Atwood tank water heater; in front of this heater is a dead space that I have also installed a cabinet for kitchen items (cooking oil, vinegar, etc) plus a draw above the heater for silverware and such.

I have my pots and pans hung under an overhead shelf. My pan lids are hung on the pans for convenience and space-saving. Plates, bowls and other items are on the shelf over the top.

Many items you just want out-of-view. Cabinets under the kitchen counter is a perfect place for all these items. I also have my internal water tank under the kitchen counter; it is in the corner of the "L" of the cabinets. For a more complete description of my water tank see this blog post.

There are other items you use multiple times a day, such as dish soap, toothpaste and toothbrushes, cleaning pads, etc. 


I prefer my home to look tidy so I like to have a place to put everything so it is not on the counter-top. I use boxes I constructed to store these items. 


Commercial items are available for holding foil, baggies and many other items. I have my kitchen knives on a magnetic strip and my cutting board stored on the wall adjacent to my counter-top.

Another area to use is the stairs; the area under the stairs is excellent for a closet and storage cubbies. I also constructed my own light stand and store four large house batteries in this stand. Storage is also available under sofas and such. Use all your spaces for effective storage.

The sky is the limit, design away and store  your items for convenient use.

Comments and questions welcome!


Saturday, August 9, 2014

Tools for construction of a tiny house

Image downloaded from the internet at http://naturalpapa.com


I have read somewhere that one can build a tiny house with only 14 tools; it may indeed be possible but life will be much better with a bit more conveniences. How would one complete electrical work without a screwdriver? The image above shows four power tools, a miter saw, jig saw, circular saw and a drill. In the construction of a tiny house, these four power tools will certainly get a workout. I would add a couple extras; an impact driver, a small table saw and maybe a router. Of course getting an air compressor and pneumatic nailers will greatly simplify your life and ease the burden on your arms. It is possible to rent these tools but for the duration of time needed for most of these tools, it would be better to purchase and then sell upon completion.

I would use the impact driver for the thousands of screws and bolts that will need to be driven; I would use the table saw for cutting long angles across grain or cutting drip edges into the bottom of window sills and I would use the router for rounding over edges of wood for the ladder, edge of the tongue-and-groove boards on the loft and other areas. Andrew Morrison showed how to use a router to cut out window and door openings in his video series "Building a Tiny House"; this is really quick and easy. Sure, you can round over with a file but a router does such a beautiful job. You can buy the tools used on craigslist, use them for the construction, then sell them for approximately the same price at the end of construction.

Personally, I set my tool budget at $1500 with plans to sell the un-needed tools upon completion. I figure I can sell the power tools upon completion to recover some of my investment. As stated above, if you purchase the tools used and sell used, you could spend much less. So, here is the list of power tools and their costs I have obtained for my tiny house. The power tools occupy over half of my tool budget.

Craftsman sliding compound miter saw ($190)
19.2 volt drill and impact drill combo set ($110)
Refurbished Skil router ($49)
Porter Cable jig saw ($60)
Craftsman circular saw ($70)
Porter Cable air compressor ($110)
Husky brad and finish nailer set ($70)
Table saw ($200)

You can get a compound miter saw and table saw for $100 each but I wanted the extra capacity of the sliding compound miter and I wanted the slightly better quality of the more expensive table saw. I plan to build my own cabinets and interior furnishings. My past experience with building showed me that an increase in quality helps my end product. You can drive all your nails with a hammer but install tongue-and-groove interior siding is much easier with a finish nailer.

In my next blog post, I will discuss the "non-power" tools we can add to this list to make life a bit more comfortable.